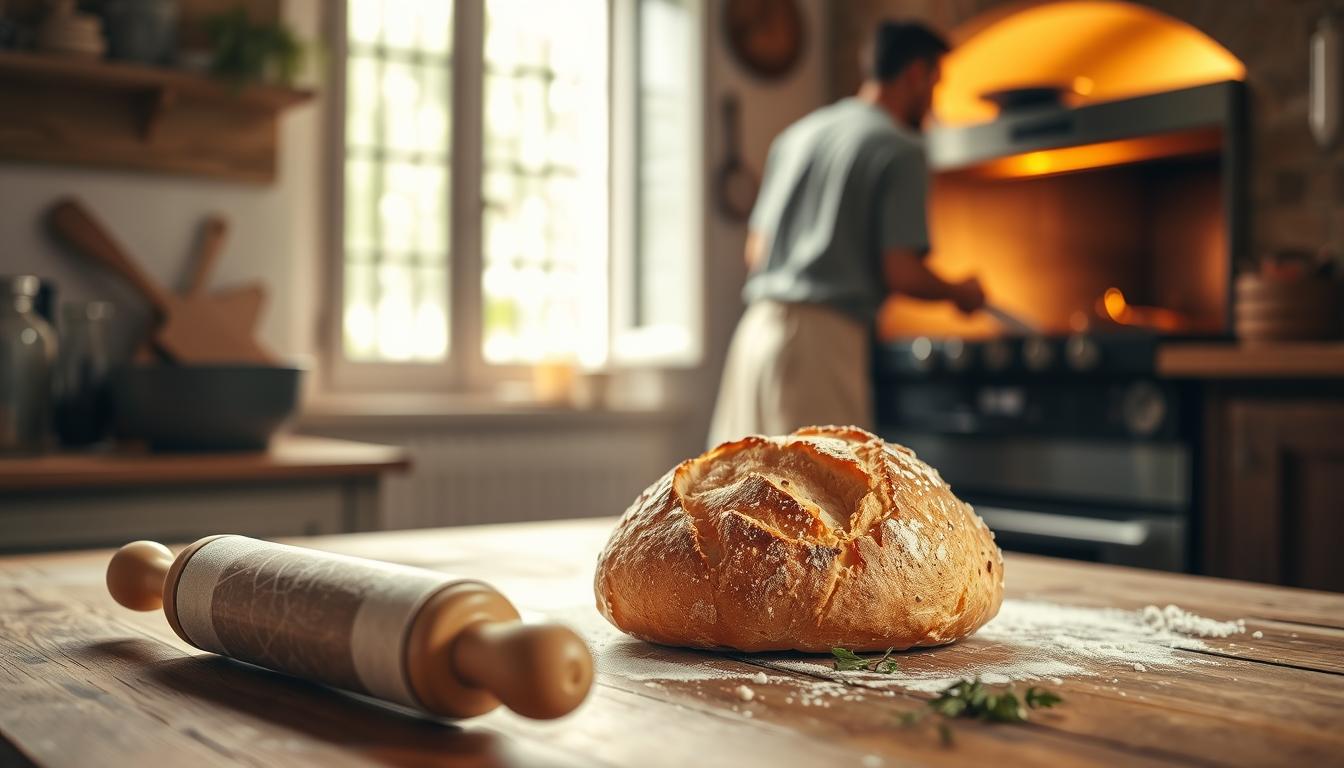
There’s magic in pulling a perfectly crusty rustic Italian bread from your oven. The aroma fills your kitchen, making you feel like you’re in a quaint bakery in Tuscany. Making homemade bread connects you to old traditions, bringing warmth and love to your table.
Making an authentic Italian recipe is easier than you think. With just five simple ingredients and patience, you can make a rustic Italian bread as good as any artisan bakery. This guide will show you how to make your kitchen a place of delicious, freshly baked goodness.
Key Takeaways
- Rustic Italian bread requires minimal ingredients and equipment
- Patience is crucial in achieving the perfect bread texture
- Homemade bread offers superior flavor compared to store-bought options
- Proper fermentation is key to developing rich bread flavors
- Temperature and timing are critical for successful bread making
Ingredients for Rustic Italian Bread
Making authentic artisan bread means choosing the right ingredients. These ingredients bring traditional Italian baking to life. Your journey to making the perfect rustic Italian bread starts here.
Essential Ingredients You Need
High-quality ingredients are the base of a great bread recipe. For your rustic Italian bread, you’ll need these key items:
- Flour: Tipo 00 or high-protein all-purpose flour (420g)
- Water: Filtered or spring water (400g)
- Active dry yeast (8g)
- Sea salt (12g)
- Olive oil (optional, for added richness)
Optional Ingredients to Experiment With
You can make your artisan bread even better with these extra ingredients:
- Barley malt syrup (10g) for deep flavor
- Sesame seeds for texture
- Fresh rosemary or thyme
- Vital wheat gluten (20g) for improved structure
Pro tip: Always weigh your ingredients for precision. Measuring by volume can lead to inconsistent results in your bread-making adventure.
Tools and Equipment Required
Making crusty bread at home is easy. You don’t need a fancy bakery setup. Just a few key tools can help you make great Italian bread in your kitchen. The right tools make bread making fun and easy.
Starting with rustic bread means knowing the basic tools. We’ll look at the must-haves and nice-to-haves for perfect loaves.
Must-Have Baking Tools
- Large mixing bowl (ceramic or stainless steel)
- Measuring cups and spoons
- Wooden spoon or dough whisk
- Baking sheet
- Parchment paper
- Kitchen scale for precise measurements
Optional Tools for a Perfect Loaf
| Tool | Purpose | Benefit for Bread Making |
|---|---|---|
| Pizza Stone | Even heat distribution | Creates crispy crust |
| Bread Lame | Scoring bread surface | Allows controlled expansion |
| Dutch Oven | Steam creation | Improves crust texture |
| Proofing Basket | Dough shaping | Helps maintain bread structure |
Pro tip: Specialized tools can improve your bread making. But, you can still make great bread with basic tools.
The secret to amazing Italian bread is practice and love. Begin with the basics. Then, add more tools as you get better.
Understanding the Dough
To make authentic Italian artisan bread, you need to know about dough. Rustic Italian bread is special because of its unique dough and traditional baking ways.
The secret of rustic Italian bread is its dough. It’s different from other breads because of its moisture and quality ingredients.
What Makes Rustic Italian Bread Unique
Rustic Italian bread is special for several reasons:
- It has a lot of moisture in the dough
- Its crumb is open and irregular
- It has a chewy, strong texture
- It uses few ingredients for the best flavor
The Importance of Hydration
Hydration is key for the perfect bread texture. The best hydration for traditional Italian baking is between 65% to 80%.
| Hydration Level | Bread Characteristics |
|---|---|
| 65-70% | Denser, more compact crumb |
| 75-80% | Open, airy crumb with large holes |
More hydration means softer, more elastic dough. It also makes those big air pockets that rustic Italian bread is famous for. Learning about hydration can make your home baking look like a pro’s.
Step-by-Step Preparation of the Dough
Learning to make homemade bread is all about mastering dough preparation. It’s about mixing, kneading, and fermentation. These steps turn simple ingredients into a tasty loaf.
Mixing Flour and Water: The Foundation
Begin by mixing flour and water carefully. This creates a dough that’s ready to go. It usually takes about 2 minutes on low speed to mix well.
- Use room temperature water
- Gradually add dry ingredients
- Strive for a smooth texture
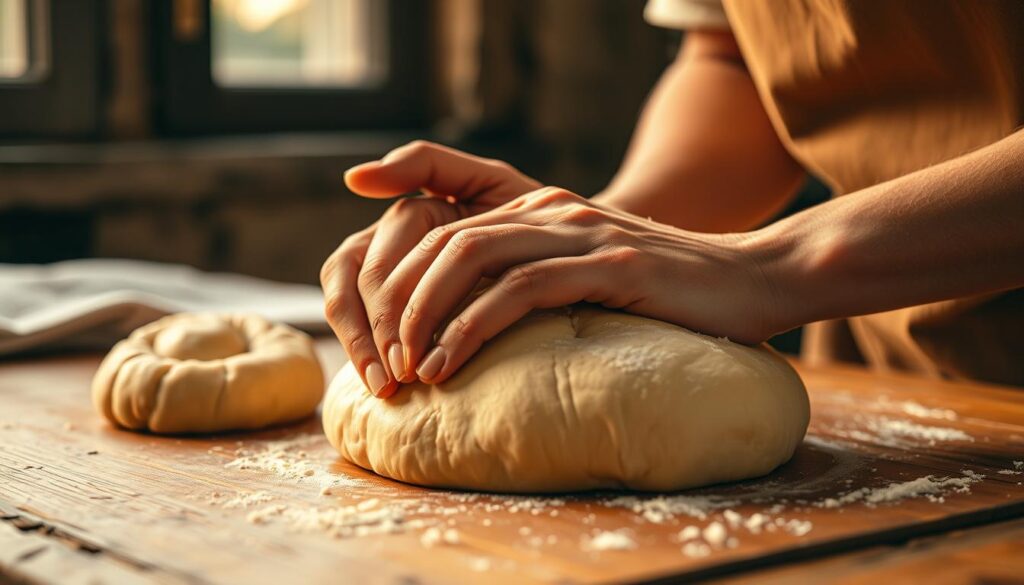
Kneading Techniques for Perfect Texture
Kneading is key to making bread soft and chewy. Use medium speed to knead for 3-4 minutes. The dough should be elastic and a bit sticky.
Understanding Fermentation
Fermentation adds flavor and texture to your bread. Your dough will rise in about 1-2 hours, depending on your kitchen.
| Fermentation Stage | Duration | Key Action |
|---|---|---|
| First Rise | 1 hour | Perform bowl fold (8-12 repetitions) |
| Second Rise | 1-2 hours | Allow dough to double in size |
“Patience is the secret ingredient in bread making” – Artisan Baker
Bread making is an art that needs practice. Each step is important for making a delicious homemade bread. It will surely impress your family and friends.
Shaping Your Rustic Italian Bread
Making artisan bread needs skill and precision, especially when shaping your rustic Italian bread. How you handle the dough affects the final texture and look of your bread.
Essential Shaping Techniques
Traditional Italian baking requires careful dough handling. Use these expert techniques to make the perfect loaf:
- Gently stretch the dough into an elongated oval shape
- Create tapered ends for an authentic rustic appearance
- Develop surface tension by carefully folding and tucking edges
Creating the Perfect Crust
The hallmark of exceptional artisan bread is its crispy, golden exterior. Here are key tips for achieving a stellar crust:
- Score the dough at a 45-degree angle with a sharp knife
- Allow for expansion and create an attractive pattern with scoring
- Introduce steam in the oven to enhance crust development
“Bread shaping is an art that transforms simple ingredients into a culinary masterpiece.”
Professional bakers know that gentle handling preserves the delicate air bubbles. These bubbles give crusty bread its signature texture. Take your time and treat the dough with care for a spectacular result.
The First Rise: Bulk Fermentation
Mastering the first rise is key in making authentic Italian bread. Bulk fermentation is a crucial step. It’s where your dough changes and gets complex flavors.
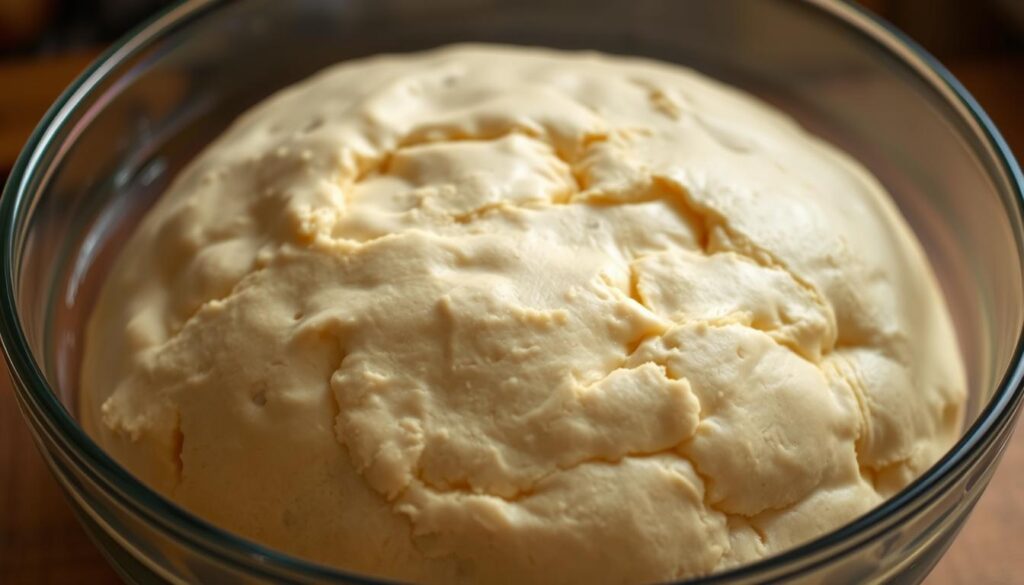
During bulk fermentation, your dough goes through big changes. This stage lets yeast and bacteria work their magic. They add depth and character to your bread.
Understanding Fermentation Duration
The first rise usually lasts 1-2 hours. But, several things can change this:
- Room temperature
- Humidity levels
- Yeast activity
- Ingredient composition
Key Factors Affecting Fermentation Time
Different environments can greatly affect your bread making. A warmer kitchen speeds up fermentation. A cooler space slows it down.
Expect your dough to rise about 20-50% during bulk fermentation. Look for these signs:
- Increased volume
- Bubbles forming throughout the dough
- Slight wobble when gently shaken
- Smooth, slightly domed surface
Professional bakers say to keep the temperature at 74-76°F for best fermentation. Your patience here will pay off. You’ll get a rich, flavorful homemade bread that’s true to Italian baking.
Pre-Shaping and Final Shape
Making perfect rustic Italian bread needs careful pre-shaping and final shaping. These steps are key to the bread’s texture and look. Learning these techniques can make your baking at home better.
Pre-shaping sets up the dough’s inside and builds tension on the surface. About 30-50% of the time, bakers skip this step. This depends on the dough’s strength and how wet it is.
Best Practices for Pre-Shaping
Here are some tips for pre-shaping your bread:
- Be gentle with the dough to keep its structure soft
- Pre-shape the dough to weigh between 800g and 900g
- For the best results, aim for a dough hydration of 70%
- Let the dough rest for 30-40 minutes after pre-shaping
Achieving the Desired Final Shape
The final shaping is key to making a real rustic Italian bread. You want a smooth outside and a light inside.
| Shaping Characteristic | Ideal Outcome |
|---|---|
| Surface Tension | Smooth and taut |
| Dough Strength | Well-defined edges (seen in 70% of well-mixed doughs) |
| Potential Issues | Avoid over-tightening (happens in 15-25% of tries) |
Getting good at these techniques takes time. Remember, each loaf is a chance to learn. Watch how your dough reacts and adjust your methods as needed.
The Second Rise: Proofing
Proofing is key in making authentic Italian recipe bread. It turns your dough into a masterpiece. This step helps your bread get complex flavors and a light texture.
During the second rise, your bread’s quality depends on your techniques. This process usually takes 30-45 minutes. But, several factors can change this time.
Techniques for Effective Proofing
Learn these proofing techniques for perfect rustic Italian bread:
- Use a proofing basket or clean kitchen towel
- Maintain room temperature between 70º-75ºF
- Protect dough from drafts
- Allow sufficient rising time (approximately 90 minutes)
How to Know When the Dough is Ready
Knowing when your dough is ready takes practice. Look for these signs:
- Finger Poke Test: Gently press the dough with a finger. If it springs back slowly and leaves a small indentation, it’s ready
- The dough should look puffy and increased in volume
- Observe a slight dome shape on top of the dough
“Patience is the secret ingredient in bread making” – Professional Baker’s Wisdom
Cold proofing lets you ferment your dough for 1 to 24 hours, sometimes up to 48 hours. This method can make your rustic Italian bread taste even better.
Baking Your Rustic Italian Bread
Making the perfect crusty bread at home needs care and knowledge of Italian baking. The baking turns your dough into a golden, crispy delight. It will make your kitchen smell amazing.
Mastering Oven Temperature and Settings
Getting the right bake for your rustic Italian bread is all about the oven settings. Here are the key temperatures to follow:
- Preheat your oven to 450°F (232°C)
- Initial baking time: 25 minutes at high temperature
- Reduce temperature to 425°F (218°C) for final 15 minutes
- Target internal bread temperature: 200°F (93°C)
Baking Stone vs. Baking Sheet Techniques
Your choice of baking surface greatly affects the bread’s texture and crust. Professional bakers swear by baking stones for authentic rustic bread.
“A quality baking stone transforms home ovens into artisan bakery environments” – Bread Baking Experts
Baking stone advantages:
- Creates crispier bottom crust
- Distributes heat more evenly
- Mimics traditional Italian baking methods
- Improves overall bread texture
Pro tip: Spray water on your bread twice during baking. Once after 10 minutes and again 10 minutes later. This will give you a beautiful, golden crust like traditional Italian baking.
Tips for Storing Rustic Italian Bread
Keeping homemade rustic Italian bread fresh is key. Whether you made it yourself or bought it, storing it right is important. This helps keep its taste and texture great.
Best Ways to Keep Your Bread Fresh
Make sure your Italian bread stays fresh. Here are some top tips:
- Store at room temperature in a paper bag or bread box
- Keep bread away from direct sunlight and heat sources
- Avoid plastic bags, which can trap moisture and promote mold
Studies from the WSU Bread Lab show sourdough can last a week or more. The secret is the right storage.
Freezing Options for Longer Storage
Freezing is great for keeping your bread fresh longer. Here’s how to do it right:
- Slice bread before freezing for easier portioning
- Use freezer bags with minimal air exposure
- Freeze individual slices for up to 3 months
To reheat frozen bread, aim for 140°F (60°C). The Breville Smart Toaster works well for this.
| Storage Method | Duration | Best For |
|---|---|---|
| Room Temperature (Paper Bag) | 2-3 days | Fresh, crusty bread |
| Freezer (Sliced) | Up to 3 months | Long-term preservation |
| Bread Box | 3-4 days | Maintaining crispness |
Pro tip: Always let your bread cool completely before storing. This prevents moisture and keeps it perfect.
Troubleshooting Common Issues
Even experienced bakers face challenges when making easy bread. Weather, ingredient quality, and technique play big roles. Knowing how to fix common dough problems is key to making perfect loaves.
Dough consistency is very important in making artisan bread. If your dough is too sticky, add flour a little at a time while kneading. If it’s too dry, add water slowly. Remember, humidity and temperature change dough texture, so be patient and adjust little by little.
Rescuing overproofed bread is possible with gentle care. Gently deflate the dough, reshape it, and let it rise a bit before baking. Keep an eye on the rising temperature, aiming for 85°F to 95°F. An instant-read thermometer helps ensure your bread reaches 190°F inside.
For successful bread making, always proof your yeast first. Follow salt measurements carefully and don’t overcrowd the oven. With practice, you’ll make beautiful, delicious rustic Italian bread that’s as good as a professional bakery’s.
FAQ
What makes rustic Italian bread different from other bread types?
Rustic Italian bread stands out for its simple ingredients and high hydration. It has a crusty exterior. Unlike others, it uses minimal ingredients and long fermentation for complex flavors and an airy crumb.
Can I make rustic Italian bread without a special bread flour?
Yes, you can make rustic Italian bread with all-purpose flour or a mix of all-purpose and bread flour. High-quality flour with moderate protein is key for the right gluten structure.
How long does it take to make rustic Italian bread from start to finish?
The whole process takes 12-24 hours, mostly for passive fermentation. Active time is about 30-45 minutes. The long fermentation is essential for deep flavor and texture.
Do I need a baking stone to make authentic rustic Italian bread?
A baking stone helps get a crispy crust, but it’s not necessary. You can use a heavy baking sheet or an inverted cast-iron skillet. The most important thing is to create steam and use a hot oven.
How can I tell if my bread is properly proofed?
Use the poke test: gently press the dough with your finger. If it springs back slowly and leaves a slight indentation, it’s ready. If it springs back quickly, it needs more time. If it doesn’t spring back, it’s overproofed.
Can I add herbs or seeds to my rustic Italian bread?
Yes! Traditional rustic bread welcomes herbs like rosemary, thyme, olives, or seeds. Just be careful not to add too much, as it can affect the dough’s structure or hydration.
How do I store homemade rustic Italian bread?
Store bread at room temperature in a paper bag for 1-2 days to keep it crisp. For longer storage, slice and freeze in an airtight container for up to a month. Avoid plastic bags, as they can make the crust soggy.
What if my dough is too sticky to handle?
High hydration makes the dough sticky. Use wet hands or a bench scraper when handling. Avoid adding extra flour, which can make the bread dense. Instead, use stretching and folding to develop gluten and reduce stickiness.
Can I make this bread without a stand mixer?
Yes! Traditional Italian bread-making was done by hand. You can mix and knead the dough with a bowl and your hands. Hand-kneading helps you understand the dough’s development better.
How do I get a crispy crust like in authentic Italian bakeries?
To get a crispy crust, create steam in the oven. Place a pan of hot water on the bottom rack or spray water into the oven when you put the bread in. This moisture helps create the characteristic crispy, golden crust.

