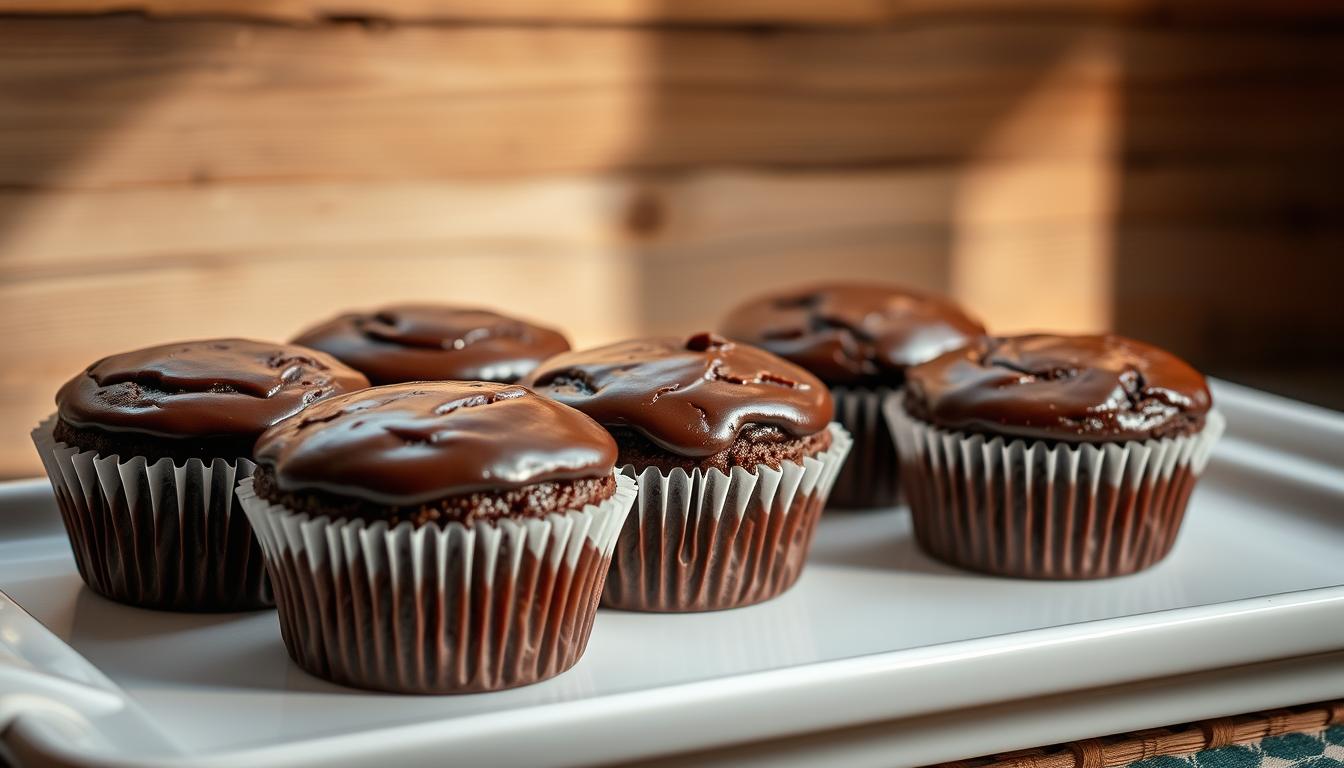
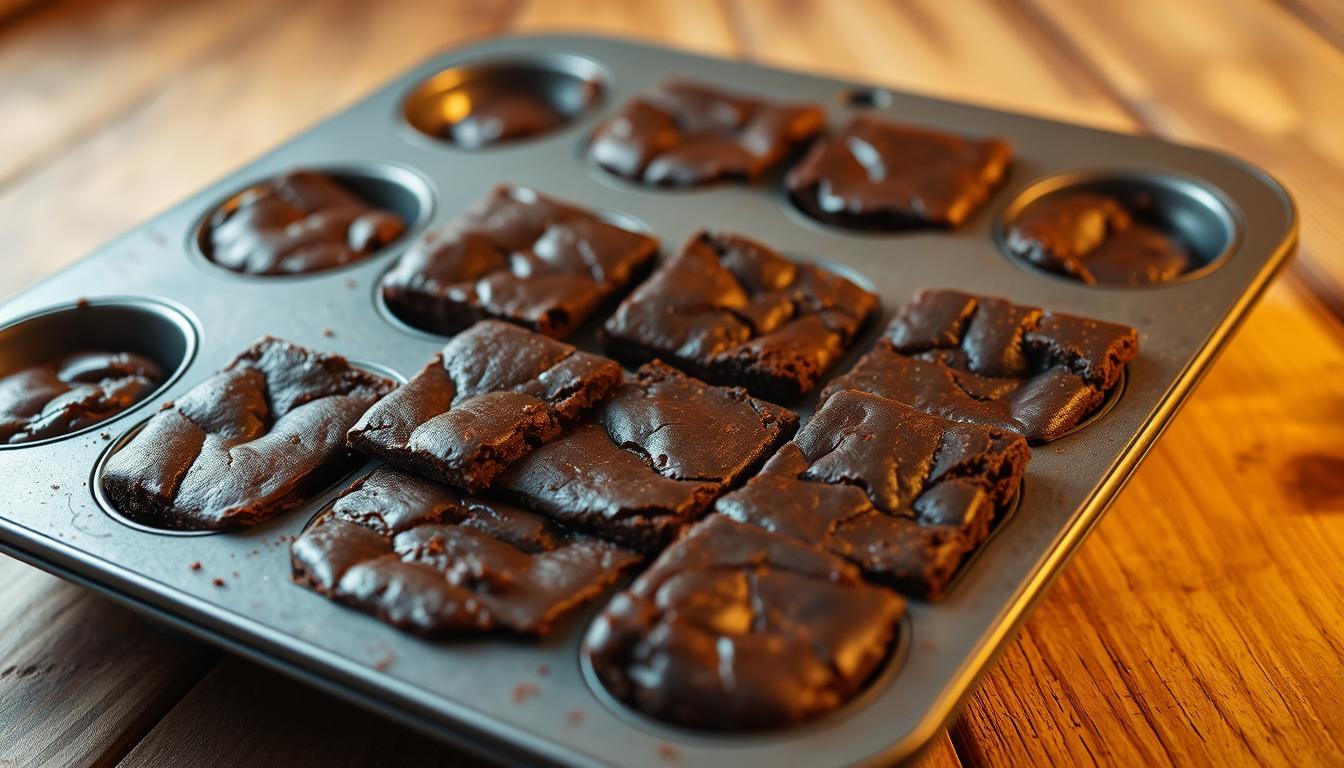
Every baker faces the challenge of cutting perfect brownie squares. But, there’s a game-changing method that makes this easier. Making brownies in a cupcake pan turns your favorite dessert into individual, perfectly portioned treats. Everyone will love them.
Baking brownies in a cupcake pan is more than just a trend. It’s a delicious solution for home bakers. You get crispy edges and chewy centers with minimal effort. These easy brownie recipes will change your dessert game, giving you professional-looking results.
Whether you’re preparing for a party or just craving chocolate, brownie cupcakes are perfect. You’ll see how simple it is to make these crowd-pleasing treats. They look as amazing as they taste.
Key Takeaways
- Individual brownie servings eliminate cutting struggles
- Cupcake pan method ensures consistent baking
- Perfect for portion control and entertaining
- Crispy edges and soft centers in every bite
- Easy to customize with various toppings
Why Use a Cupcake Pan for Brownies?
Turning homemade brownie recipes into brownie cupcakes is a fun twist. These small treats offer many benefits that change the way we bake desserts.
- They help with portion control for those watching their calories.
- They have a perfect crispy edge and gooey center in every bite.
- They’re easy to serve and transport.
- Cleaning up is much easier than with traditional baking.
Benefits of Individual Brownie Servings
Brownie cupcakes are small delights that solve many baking problems. They make serving easy and ensure everyone gets a great treat.
“Small bites, big flavor – that’s the magic of brownie cupcakes!” – Baking Enthusiast
Perfect for Parties or Gatherings
Guests will enjoy these easy-to-eat desserts. Brownie cupcakes are great for parties, kids’ events, or office gatherings. They’re neat, easy to carry, and can be decorated in many ways.
With 15 minutes of prep and 30 minutes of baking, you can make 12 brownie cupcakes. They’re sure to be a hit at your next event.
Choosing the Right Brownie Recipe
Finding the perfect brownie recipe is key to a great chocolate dessert. Whether you want homemade or easy brownie recipes, knowing the ingredients and techniques is important. This will help you make delicious treats.
- High-quality chocolate (50-70% cocoa content)
- Room-temperature eggs for better mixing
- Proper measurement of dry ingredients
- Careful mixing technique
Classic Chocolate Brownies
Classic chocolate brownies are the ultimate in easy brownie recipes. Their success comes from using top-notch ingredients and perfect mixing.
| Ingredient | Quantity |
|---|---|
| Bittersweet Chocolate | 8 ounces |
| Unsalted Butter | ¾ cup |
| All-Purpose Flour | 1¼ cups |
| Cocoa Powder | 3 tablespoons |
| Large Eggs | 4 eggs |
Gluten-Free Brownies
Gluten-free brownies are a great choice for those with dietary needs. Substituting wheat flour with almond or coconut flour makes rich and tasty chocolate desserts.
For the best texture, keep these tips in mind:
- Use room-temperature ingredients
- Mix gently to avoid overmixing
- Bake at 325°F for 45-50 minutes
- Check for moist crumbs when testing doneness
Pro tip: The secret to incredible brownies is balancing ingredients and avoiding overmixing!
Ingredients You’ll Need
Starting with the right ingredients is key to making tasty homemade brownies. When baking in a cupcake pan, you need a mix of components. These will turn your chocolate treats into something truly special.
Basic Ingredients for Baking Brownies
Make sure you have these basic items in your pantry:
- Unsweetened cocoa powder – the heart of rich chocolate taste
- All-purpose flour
- Granulated white sugar
- Large eggs
- Unsalted butter
- Pure vanilla extract
- Salt
- Baking powder
Optional Mix-Ins to Elevate Your Brownies
Want to make your brownies even better? Try these exciting add-ins:
- Chocolate chips
- Chopped nuts (walnuts or pecans)
- Caramel pieces
- Dried fruit
- Crushed candy bars
Pro tip: Use top-notch ingredients like pure vanilla extract and premium cocoa powder. They boost the flavor in your brownie cupcakes. Each ingredient is important for the perfect taste and texture.
Preparing Your Cupcake Pan
Baking for beginners can seem scary, but getting your cupcake pan ready is key. It makes sure your brownies in a cupcake pan are always a hit.
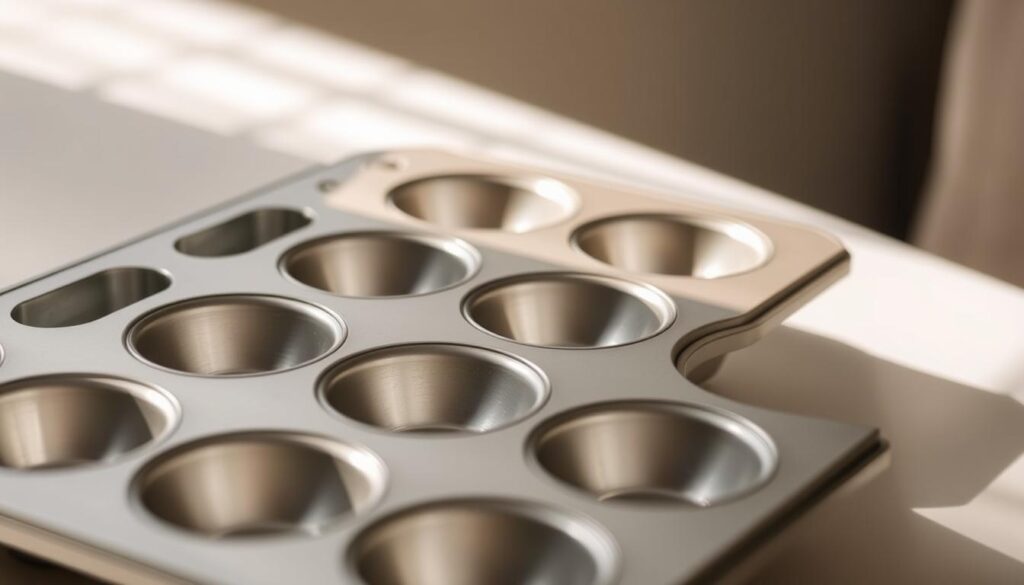
Choosing how to prepare your pan is important. It affects how easy your brownie cupcakes are to remove. You can grease the pan or use paper liners.
Greasing the Pan
There are a few ways to grease your cupcake pan:
- Non-stick cooking spray
- Butter
- Vegetable oil
- Shortening
Paper Liners vs. Direct Greasing
| Paper Liners | Direct Greasing |
|---|---|
| Easy cleanup | Crispy brownie edges |
| Portable individual servings | Direct contact with pan creates caramelization |
| Decorative options available | No additional waste from liners |
Recommended Cupcake Pan Sizes
Here are some pan sizes for brownie cupcakes:
- Standard cupcake pan: 12 cups, ideal for regular-sized brownies
- Mini muffin tin: Perfect for bite-sized treats
- Jumbo cupcake pan: Great for larger, more indulgent servings
Pro tip: Whichever pan you choose, fill each cup only 2/3 full to prevent overflow during baking.
Try out different pan sizes to find your favorite brownie cupcake size. Remember, the best baking comes from practice and enjoying the journey!
Mixing the Brownie Batter
Making the perfect brownie batter is key to delicious brownie cupcakes. For beginners, mastering the mixing technique can turn simple recipes into impressive homemade treats.
Success in making brownie batter comes from a few important steps. First, gather all your ingredients and let them come to room temperature. This makes mixing smooth and ensures a consistent texture.
Step-by-Step Mixing Instructions
- Cream butter and sugar until light and fluffy (5-7 minutes)
- Beat in eggs one at a time
- Add vanilla extract
- Gradually mix in dry ingredients
- Stir until just combined – avoid overmixing
Common Mixing Mistakes to Avoid
- Using cold ingredients that won’t blend smoothly
- Overmixing the batter, which can make brownies tough
- Skipping the creaming process for butter and sugar
- Not measuring ingredients precisely
Pro tip: Use unsalted butter for better flavor control. Add 1 teaspoon of baking powder for a cakier texture in your brownie cupcakes.
Filling the Cupcake Pan
Making mini brownie bites in a cupcake pan needs precision and care. For beginners, knowing how to fill the pan right is key. It greatly affects your brownies in cupcake pan.
Portion Sizes for Each Cup
To get uniform brownie cupcakes, start with the right portioning. Here are some tips for filling your muffin cups:
- Fill each cup approximately 2/3 full
- Use about 2 tablespoons of batter per cup
- Consider using a cookie scoop for precise measurements
Preventing Overfilling
Overfilling can cause spills and uneven baking. To prevent this:
- Leave a small space at the top of each cup
- Tap the pan gently to distribute batter evenly
- Use a spatula to smooth the surface if needed
Different pan sizes need slight adjustments. For mini muffin tins, use about 1 tablespoon per cup. Jumbo cupcake pans might need 3-4 tablespoons of batter.
Pro tip: Always check your specific recipe for exact portioning recommendations.
Baking Time and Temperature
Getting your brownies just right needs careful timing and temperature. Making tasty chocolate desserts, like brownies in a cupcake pan, requires focus on details.
- Preheat your oven to 350°F (175°C)
- Bake standard-sized brownie cupcakes for 20-25 minutes
- For mini brownie cupcakes, reduce baking time to 8-10 minutes
- Check for doneness using the toothpick method
Checking Brownie Doneness
Figuring out the right baking time takes practice. Stick a toothpick into the brownie’s center. It should have a few moist crumbs on it. Avoid overbaking to prevent dry, crumbly brownies.
Baking Time Variations
| Cupcake Size | Baking Time | Doneness Test |
|---|---|---|
| Mini Cupcakes | 8-10 minutes | Toothpick with few moist crumbs |
| Standard Cupcakes | 20-25 minutes | Slightly firm top, moist center |
| Jumbo Cupcakes | 25-30 minutes | Toothpick with minimal crumbs |
Pro tip for chocolate desserts: Let brownie cupcakes cool in the pan for 10-15 minutes. This helps them set and makes them easier to remove. Remember, brownies cook a bit more after they’re out of the oven. So, timing is key for that perfect fudgy texture.
Cooling and Storing Your Brownies
Learning how to cool and store your brownies is key to keeping them perfect. Baking brownies needs attention before and after they’re done.
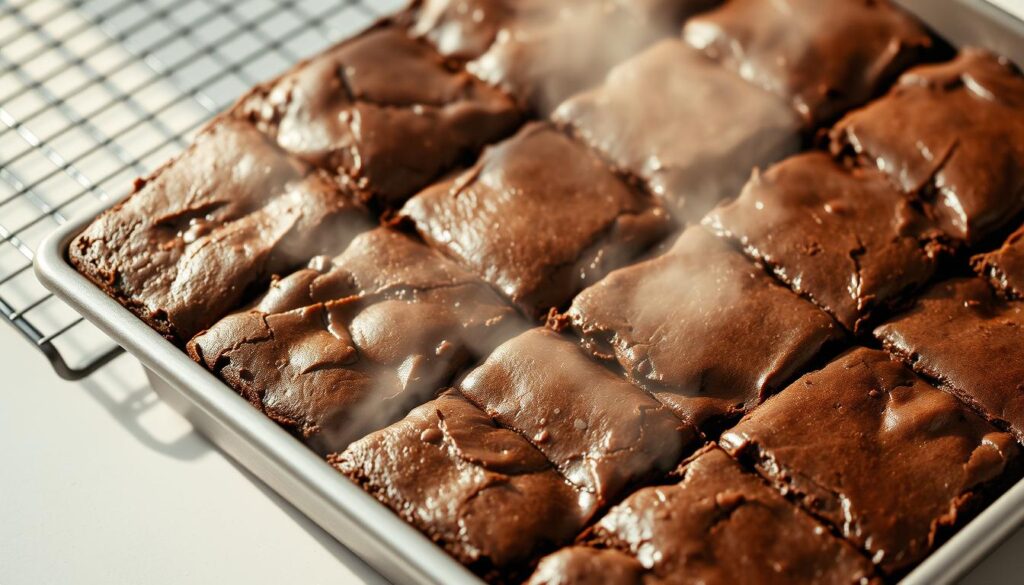
Cooling Techniques for Perfect Texture
Proper cooling is vital when baking brownies in a cupcake pan. Here are the steps for a moist texture:
- Let brownies cool in the pan for 15 minutes after baking
- Move them to a wire rack to cool completely
- Don’t cut or remove from the pan too soon
“The secret to great brownies is patience during the cooling process.”
Best Storage Practices
Keep your brownie cupcakes fresh with these storage tips:
| Storage Location | Duration | Recommended Method |
|---|---|---|
| Room Temperature | Up to 3 days | Store in airtight container |
| Refrigerator | Up to 2 weeks | Wrap individually in plastic wrap |
| Freezer | Up to 8 weeks | Layer with parchment paper |
Pro tip for baking brownies: When freezing, wrap the entire batch tightly in plastic wrap and then in foil to prevent freezer burn.
By using these cooling and storage methods, your brownies will stay moist, delicious, and fresh for a long time.
Creative Toppings and Frostings
Make your chocolate desserts stand out with creative toppings. These can turn simple brownies into stunning treats. They will impress everyone with their looks and taste.
Simple Glazes and Chocolate Drizzles
Give your brownies a fancy touch with chocolate drizzles. A smooth ganache or classic chocolate glaze adds a professional look. Pro tip: Allow brownies to cool completely before applying any topping.
- Classic chocolate drizzle
- Salted caramel glaze
- White chocolate swirl
- Dark chocolate ganache
Fun Sprinkles and Nuts Combinations
Use sprinkles and nuts to add texture and color. They make brownies look festive and fun, perfect for any event.
- Rainbow sprinkles
- Chopped almonds
- Crushed pecans
- Sea salt flakes
- Toasted coconut
When you decorate your brownie bites, cooling time is key. Let them cool for 1½ to 2 hours before adding frosting. This ensures a smooth finish every time.
Serving Suggestions for Brownie Cupcakes
Make your brownie cupcakes stand out with creative serving ideas. These mini brownie bites can become stunning desserts. Pair them with the right accompaniments to highlight their rich taste and texture.
Vanilla ice cream is a classic choice for brownie cupcakes. The cool ice cream contrasts beautifully with the warm chocolate. Try different ice cream flavors like salted caramel or mint chocolate chip for a unique twist.
Pairing with Ice Cream
For a lighter option, top your brownie cupcakes with whipped cream and a sprinkle of cocoa powder. Add fresh berries like strawberries or raspberries for a tangy touch. These simple touches can elevate your homemade brownie cupcakes to a restaurant-quality dessert.
Serving with Whipped Cream or Fresh Fruit
Set up a brownie cupcake sundae bar for parties. Offer toppings like chopped nuts, chocolate sauce, and fruit compotes. This interactive station lets guests create their own mini brownie bites. It’s a fun and memorable dessert experience.
FAQ
Can I use a regular brownie recipe in a cupcake pan?
Yes, you can make most brownie recipes in a cupcake pan. Just adjust the baking time and fill each cup about 2/3 full. Cupcake pan brownies bake faster than sheet pan brownies. Start checking for doneness 5-10 minutes earlier than the recipe suggests.
How do I prevent my brownie cupcakes from sticking to the pan?
To prevent sticking, you have two options. First, grease the cupcake pan with non-stick cooking spray or butter. Or, use paper liners for easy removal and a clean look. If using liners, lightly spray them to prevent sticking.
Can I make gluten-free brownie cupcakes?
Absolutely! Use a gluten-free flour blend instead of regular flour. Look for mixes that include xanthan gum. Make sure all ingredients are gluten-free and mix carefully for the right texture.
How long can I store brownie cupcakes?
Brownie cupcakes stay fresh for 3-4 days at room temperature in an airtight container. Refrigeration extends this to a week. For longer storage, freeze them for up to 3 months. Wrap each cupcake in plastic wrap and store in a freezer-safe container.
What are some creative mix-ins for brownie cupcakes?
Try adding chocolate chips, chopped nuts, caramel bits, peanut butter chips, or dried fruit. You can also swirl in cream cheese, add Nutella, or sprinkle sea salt on top. Be careful not to overfill the batter.
How do I know when my brownie cupcakes are done baking?
Use the toothpick test. For fudgy brownies, a few moist crumbs should stick to the toothpick. For cake-like brownies, the toothpick should come out clean. Also, press the top gently; it should spring back slightly.
Can I make mini brownie cupcakes?
Yes! Use a mini muffin tin and bake for 10-12 minutes. Fill each cup about 2/3 full. Mini brownie cupcakes are great for parties or as bite-sized treats.

